— Jeremy (1)")
GA4 is coming. Yes, it is on its way for good to replace Universal Analytics (UA). If you do not have Google Analytics 4 (GA4) installed yet, I would recommend implementing that on your website as soon as possible. Not only will you be able to benefit from the new signals and audiences the new platform has to offer, but also, the most important reason to get that installed now is so you have some benchmark for year-over-year analysis with analytics, particularly around the holidays.
If you are reading this, my assumption is that you are somewhat familiar with GA4 and what it is. If not, check out this article to bring you up to speed. Today, we are going to focus on the steps to get GA4 installed using Google Tag Manager (GTM), so you can start gathering basic data as soon as possible. Important: This guide does not show how to set up events or ecommerce tracking; I want to show how to get the bare minimum, so you have some point of reference in the future for analysis.
Step 1: Create Your New Google Analytics 4 Property
There are two ways to do this – upgrade an existing UA account, or create a new account. This guide will be about upgrading your current UA account, so we will use the GA4 Setup Assistant to create the property.
Important: UA should continue to run in parallel with the new GA4 property until July 2023, when UA will be sunset. Do not remove or edit your existing UA code.

While logged into your account, select admin in the bottom left and then GA4 Setup Assistant in the middle:
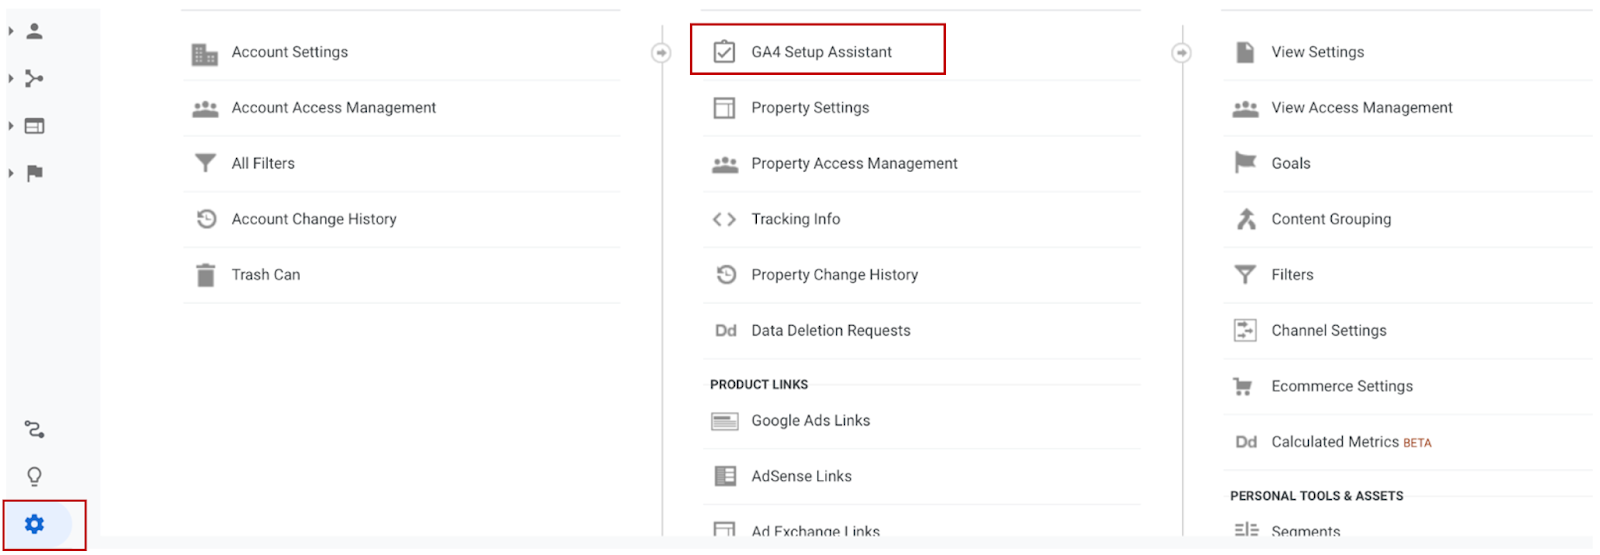
From there, you will want to select the Get Started button to create a new Google Analytics 4 property.
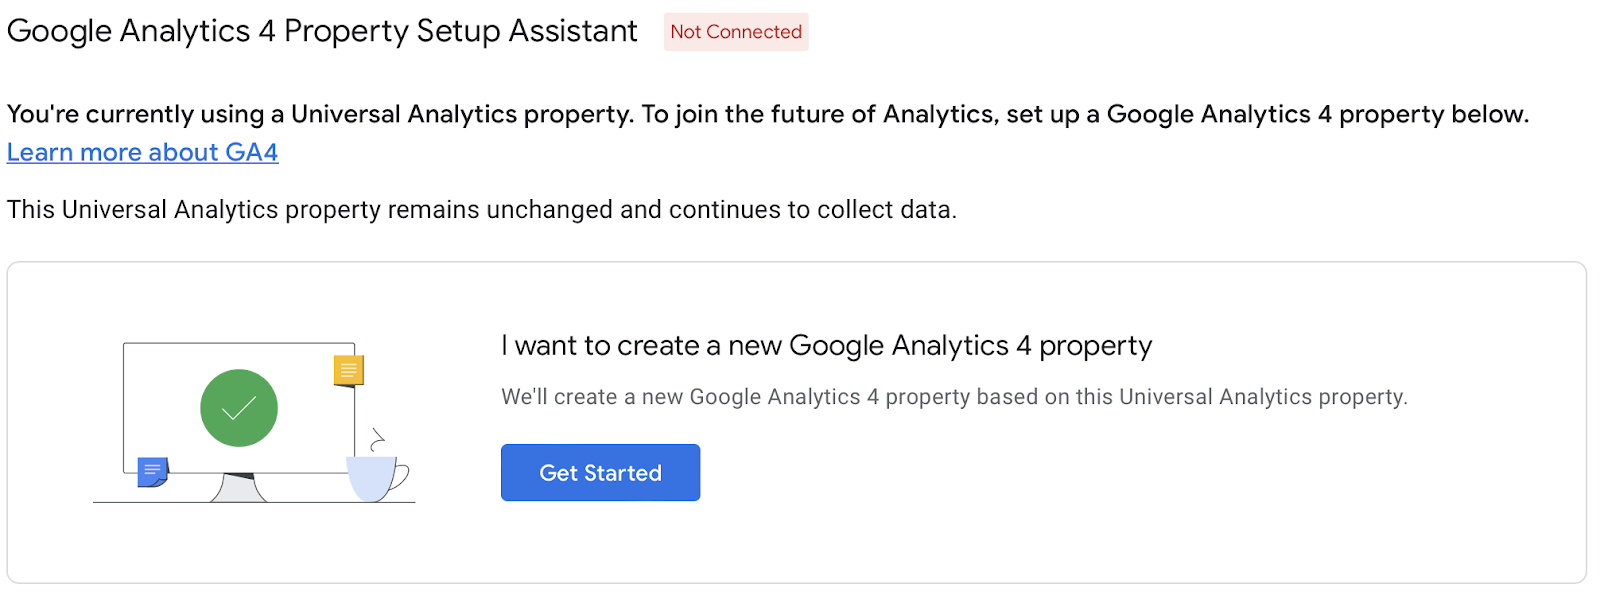
Step 2: Create GA4 Property
The second step when creating your account is to create the GA4 property, which is now the new default.
Enter your property name.
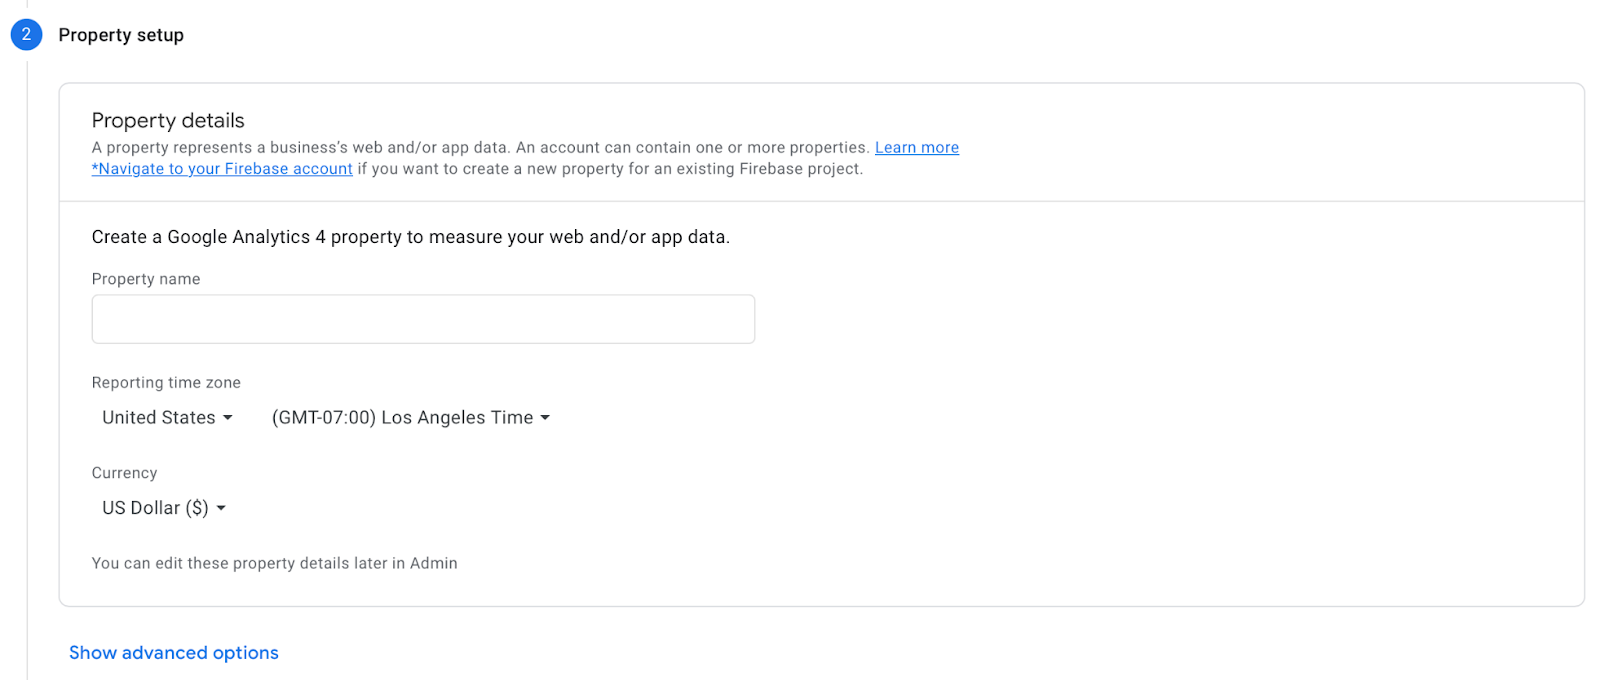
Step 3: Fill Out Your Business Data
The last step to get your account and property created is to provide Google with simple business information, like your business size and your goals on how you plan to use Google Analytics.

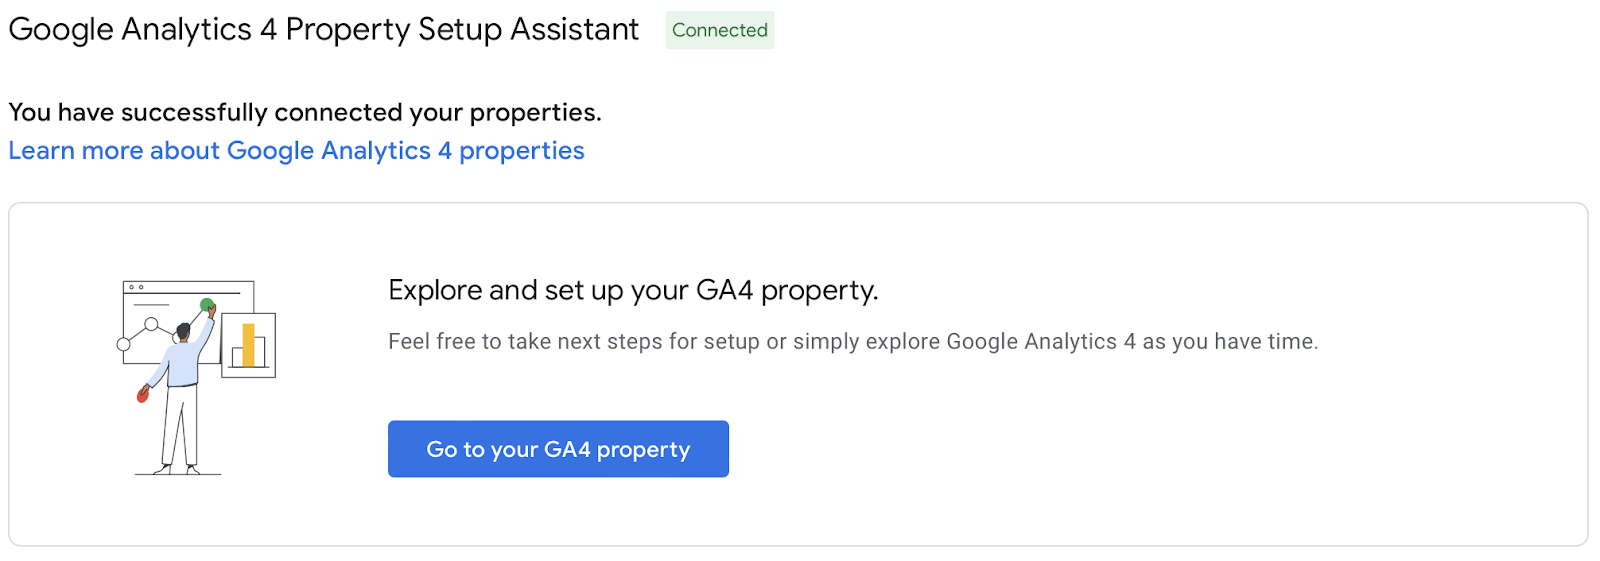
And just like that, the new property has been created. You will then want to click on the Go to your GA4 property button so that we can grab the measurement ID.
Step 4: Find and Copy Your Measurement ID
Once you are in your new GA4 property, you will want to select Data Streams within the property column:
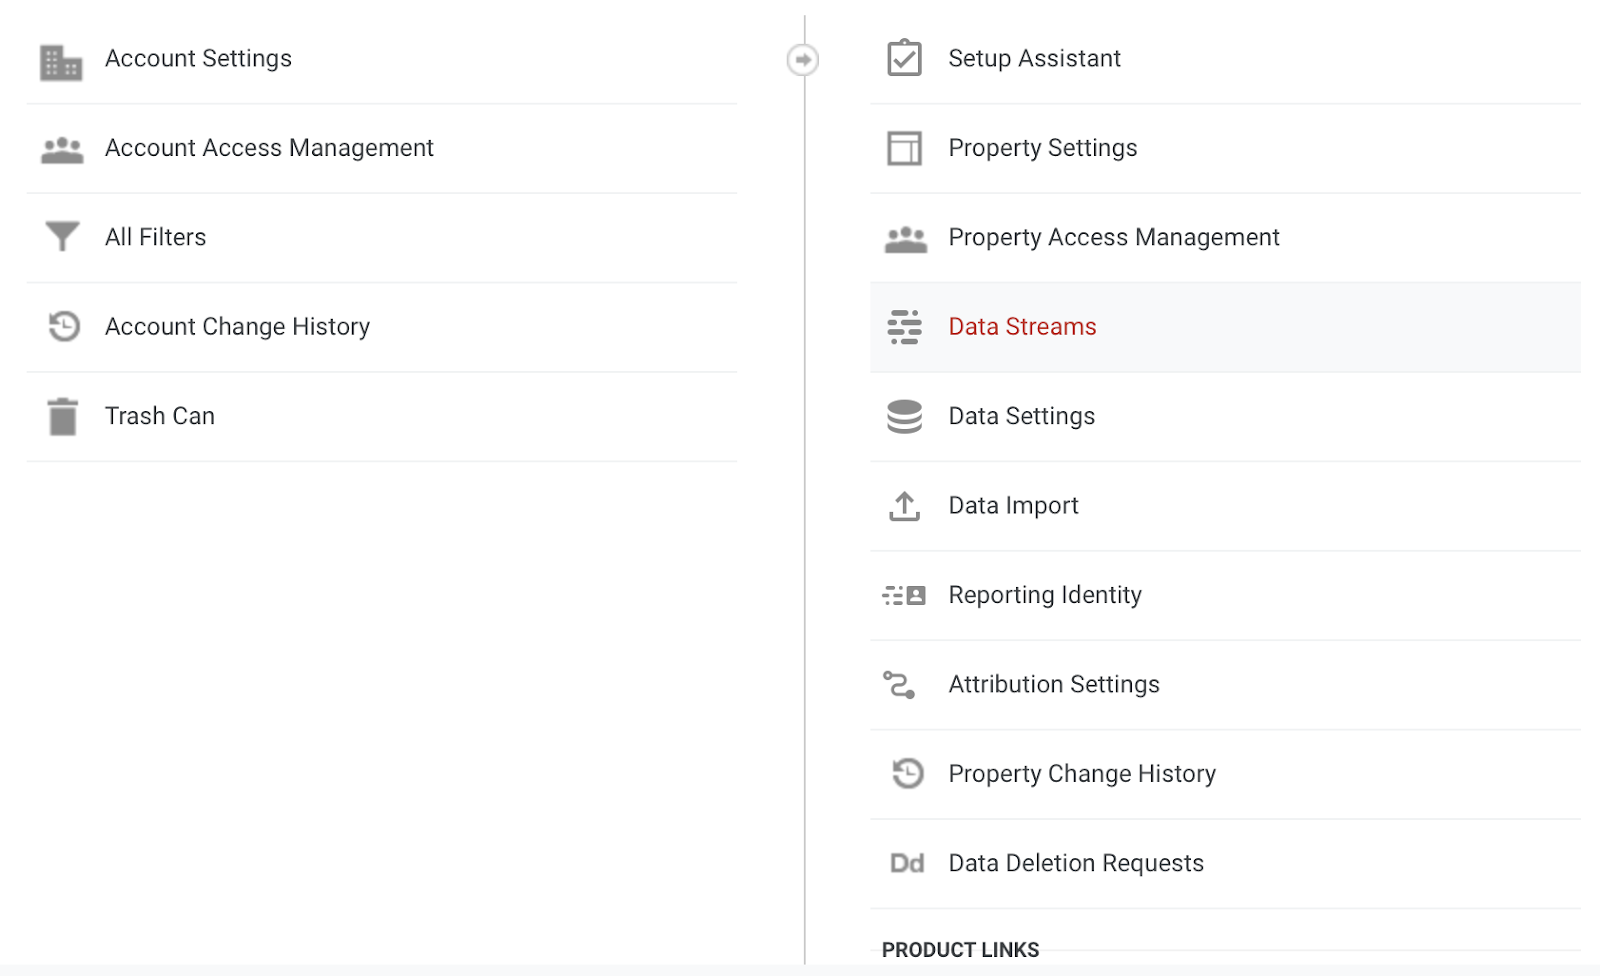
You will then see your website data stream, which you will select.
At the far right, you will see the measurement ID, which you will want to copy as you will need this to get the tag installed in Google Tag Manager.

Step 5: Install Tag in Google Tag Manager
Now that you have the property created and the measurement ID is copied, you need to log in to your GTM account. (If you don’t have a GTM account, you’ll need to follow your site platform instructions for adding scripts, which vary by platform.)
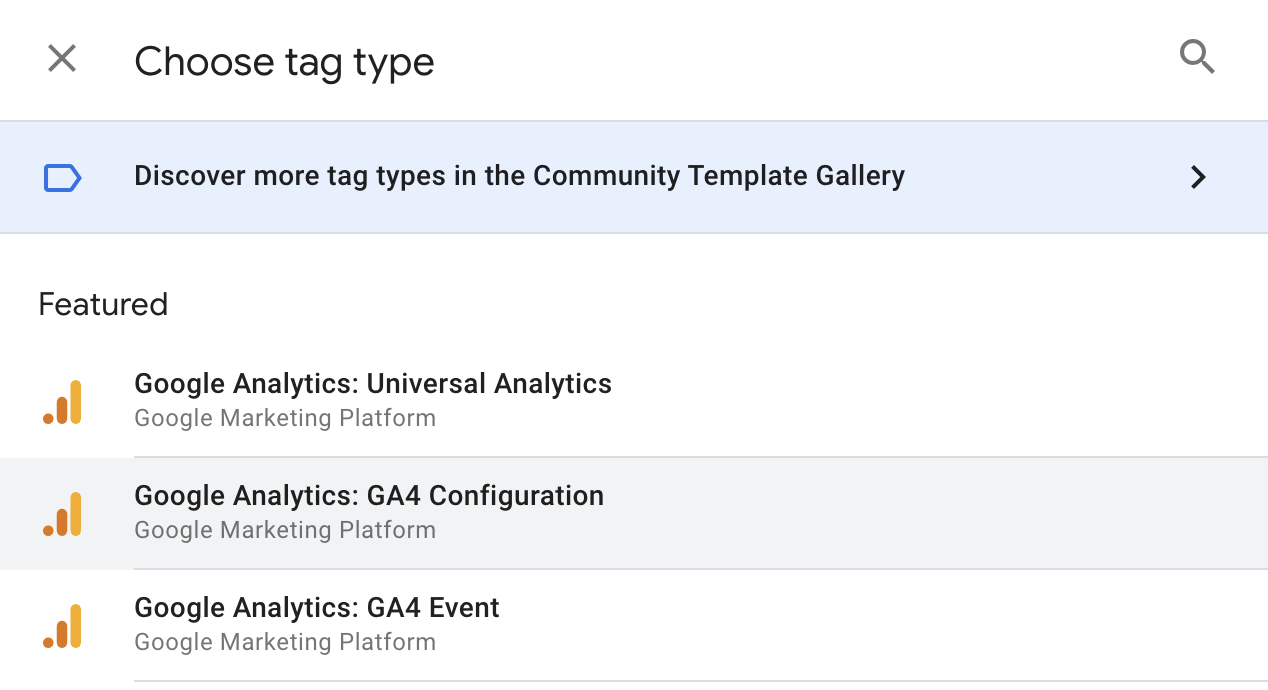
Once you are logged in, you will create a new tag and select the new GA4 Configuration tag:
The rest is fairly simple – paste your measurement ID and select to have the tag fired on All Pages.
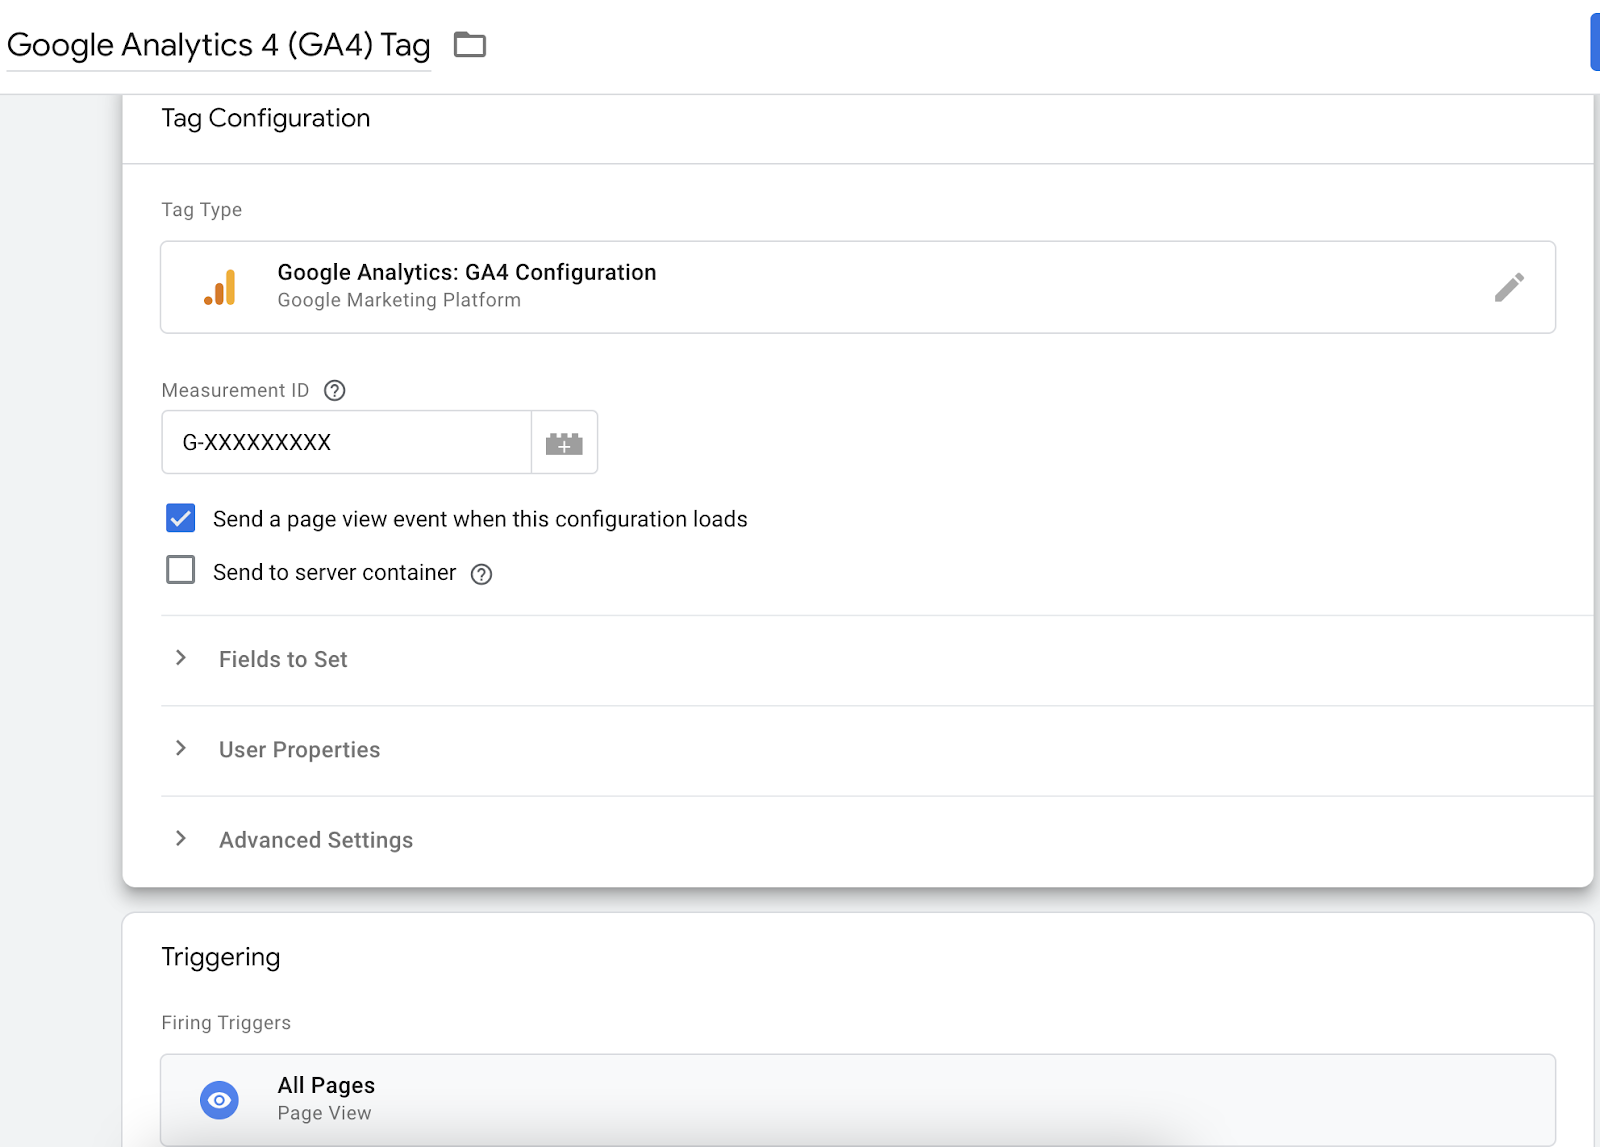
Then, publish your Google Tag Manager container, and you are now all set to gather data in your GA4 property.
From here, you will want to take the next step and set up your events (also known as goals in Universal Analytics), so you can track what is important to you, like leads, purchases, etc.
Good luck with your setup and future-proofing your Google Analytics account!