Gone are the days of friending someone just to add them to your Facebook Page or ad account. With Business Manager it’s a much simpler and more secure process to claim the Facebook assets for your business.
Create your Business Manager
- At https://business.facebook.com, click “Create Account” – it will prompt you to log in if you haven’t already done so. If you already have access to other business managers, click “Create Business,” as shown below.

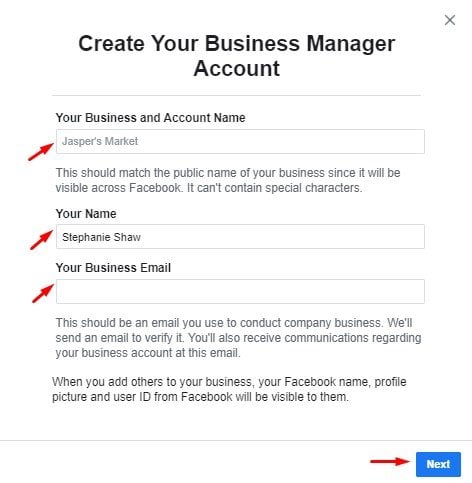
- Enter your business name, your name and your business email, as shown below. Then click “Next.”
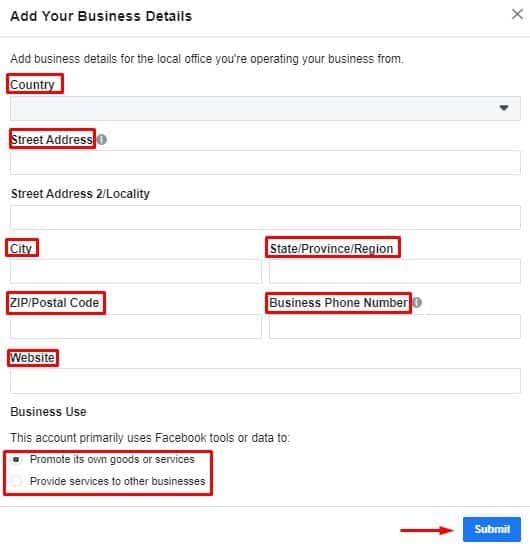
- Add your business details, then click “Submit,” as shown below.
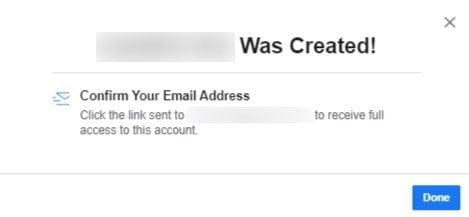
- A screen will display to tell you that your Business Manager was created successfully, as shown below. Click “Done.”
- Open the confirmation email you receive from Facebook and click the link to complete the process.
Claim or Create Your Page
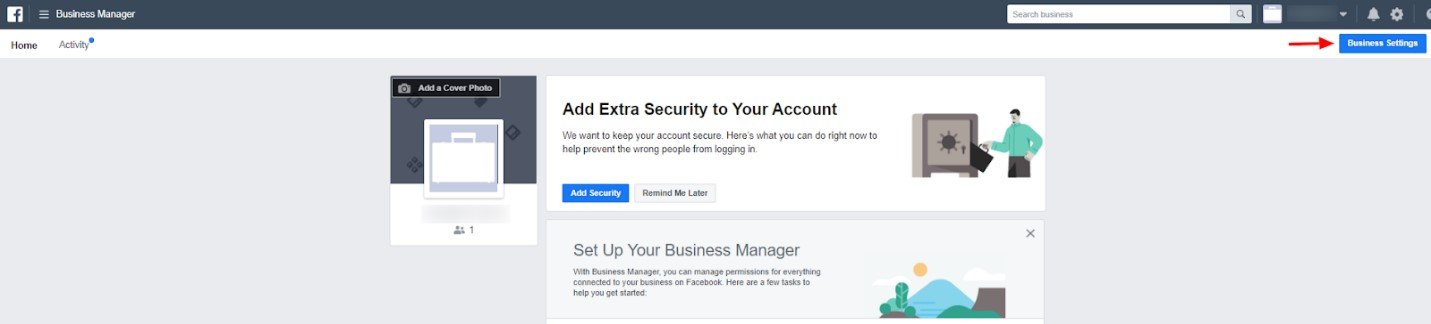
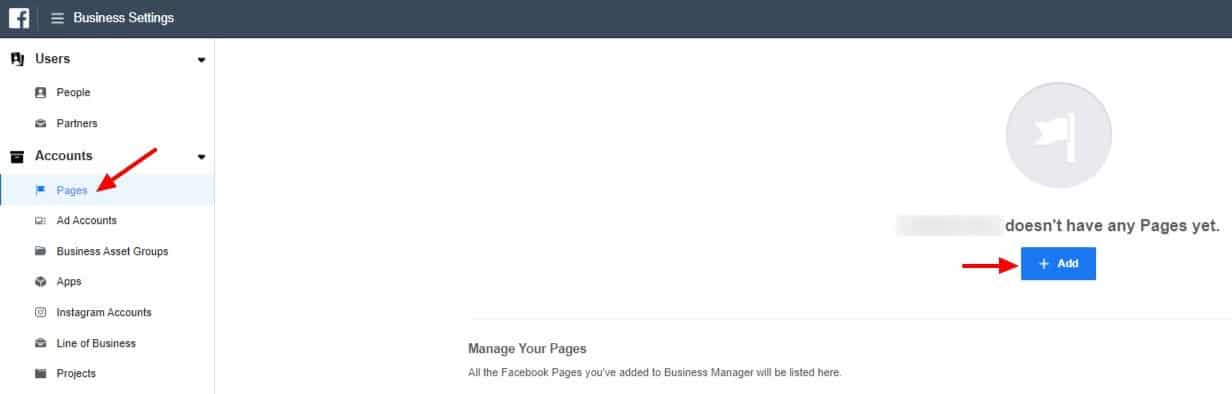
- Click “Business Settings,” as shown below.
- Navigate to “Pages” in the left menu. Click “Add,” as shown below.
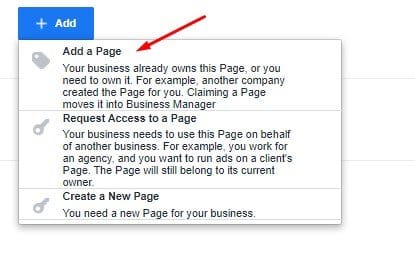
- If you already have a Facebook Page, select “Add a Page,” as shown below. Otherwise click “Create a New Page.”
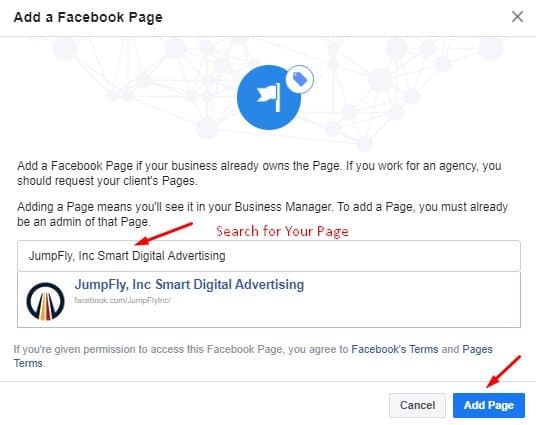
- Search to select your Facebook Page, then click “Add Page,” as shown below. You must already be an admin of your page.
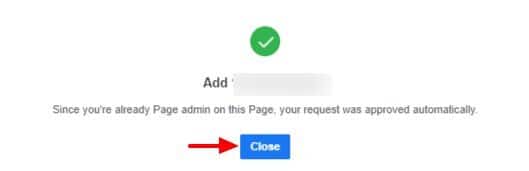
- A screen should display confirming your approval. Click “Close,” as shown below. If you run into issues and it does not get approved, have other admins of your page try this process. If you are a new admin, the process can fail.
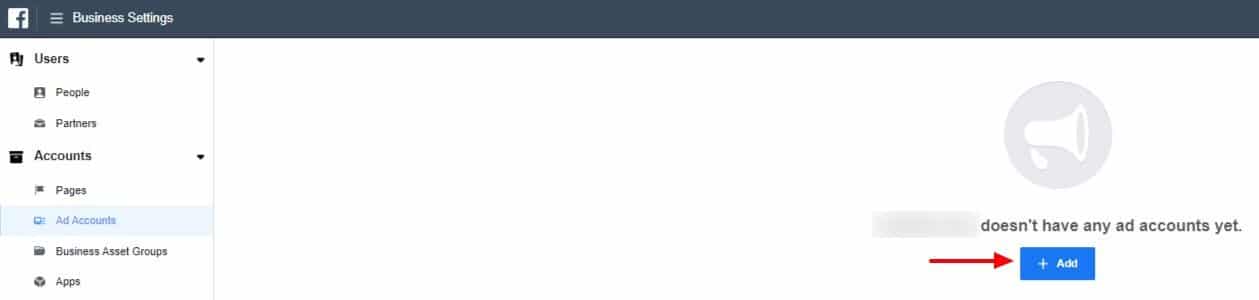
Claim Your Ad Account

- Navigate to “Ad Accounts” in the left menu and click “Add,” as shown below.
- If you have an existing ad account, select “Add an Ad Account,” as shown below.
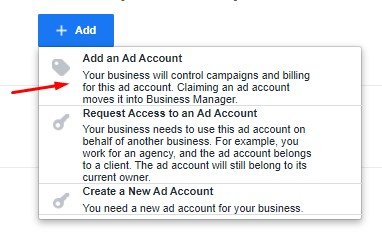
A new window will open. Enter your ad account ID, then click “Add Ad Account,” as shown below.

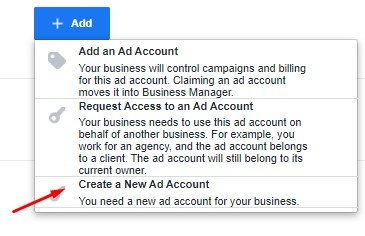
The ad account must not be owned by another business manager. If you try to claim an ad account already owned by another Business Manager, you will receive an error. - If you do not have an ad account, or need to create a new one because your previous account is owned by another Business Manager, you’ll select the “Create a New Ad Account” option, instead, as shown below.
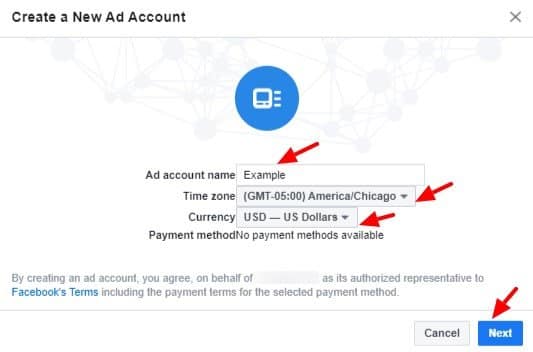
- Enter your ad account name, time zone and currency information, as shown below. Then click “Next.”
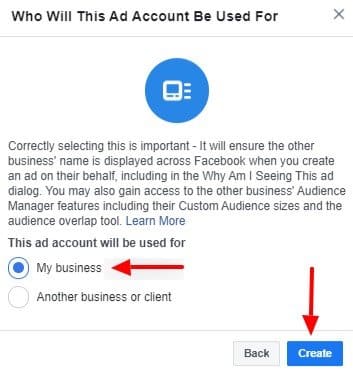
- Choose who this ad account will be used for. If you are creating the ad account for your own business, you’ll choose “My business,” then click “Create,” as shown below.
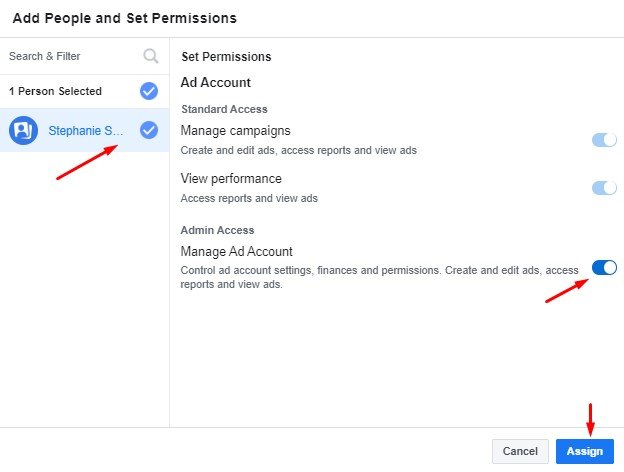
- You will be immediately prompted to add people and set permissions, as shown below. You can provide yourself admin access at this time. Other people, such as partners, partners can be added later. Click “Assign” to finish.
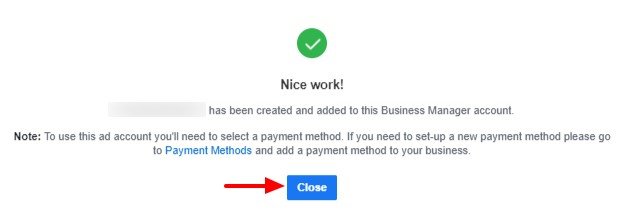
- A screen will display indicating that you successfully added the person, as shown below. Click “Close.”
Set up Your Payment Method
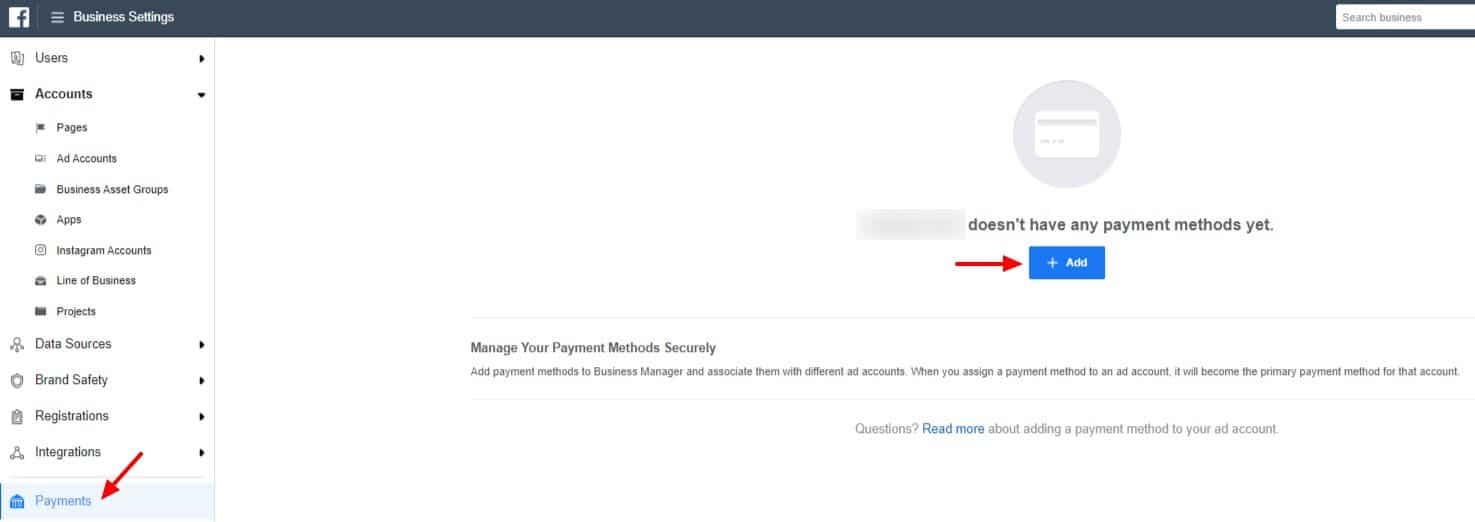
- If you have a new ad account or your existing ad account is not current, set up your ad account payment method. In the left menu, navigate to “Payments” and select “Add,” as shown below.
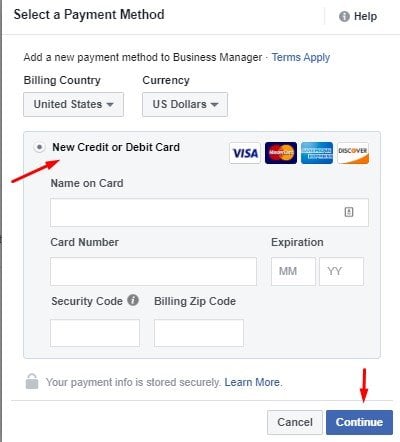
- Enter your credit card details and click “Continue.”
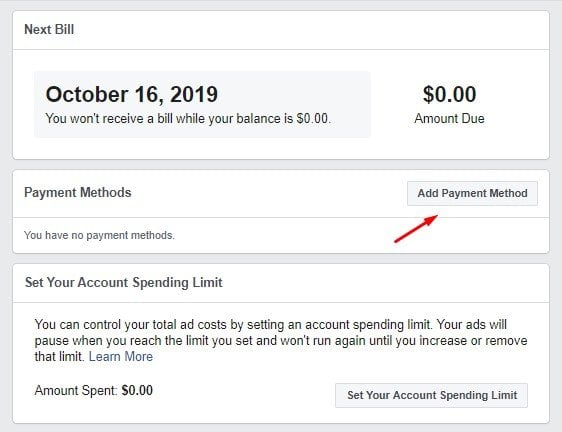
- You will see confirmation that your credit card was successfully submitted. Click the link to choose an ad account to apply the payment method to, as shown below.

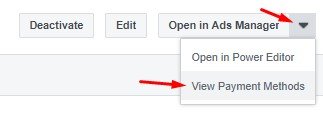
- In the upper right corner, click “Open in Ads Manager” and choose “View Payment Methods,” as shown below.
- Click “Add Payment Method.”
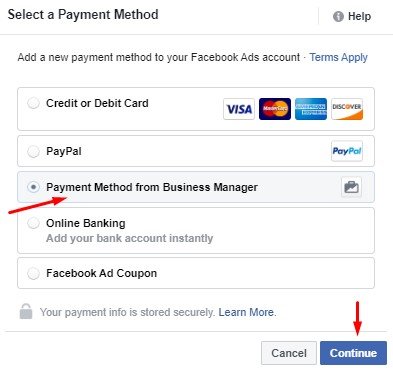
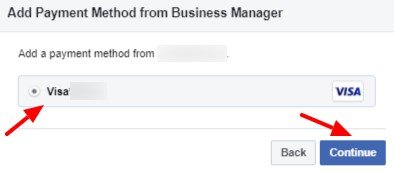
- Select “Payment Method from Business Manager” and click “Continue.”
- Select your credit card, then click “Continue,” as shown below.
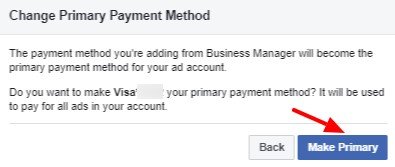
- Click “Make Primary” to confirm that you want to use that card, as shown below.
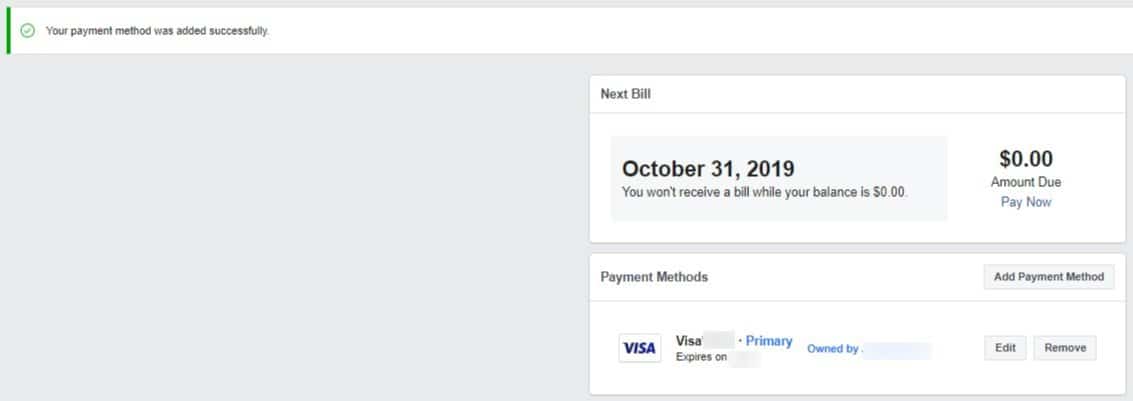
- You will receive confirmation, as shown below.
- Click the gear icon in the upper right to return to “Business Settings,” as shown below.

Claim Your Instagram Account
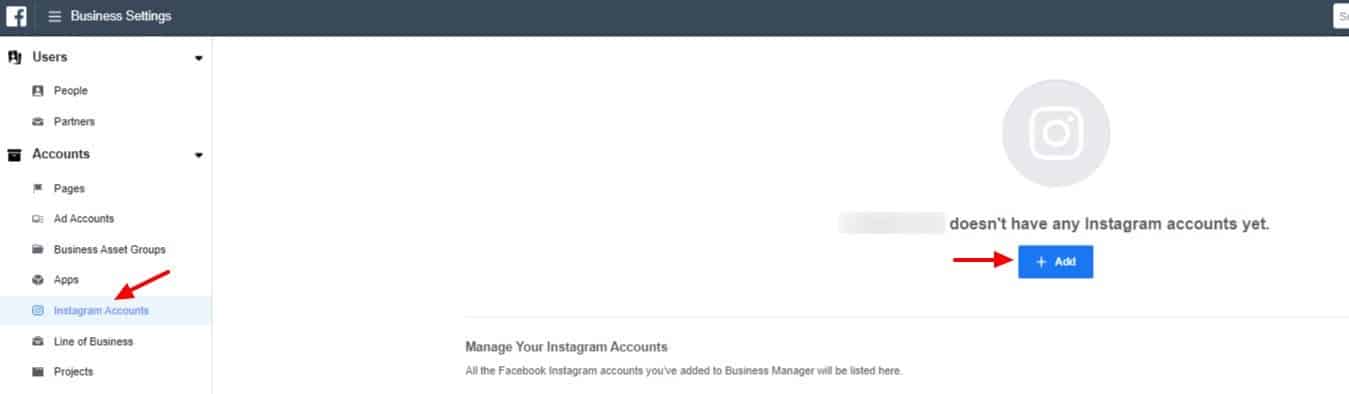
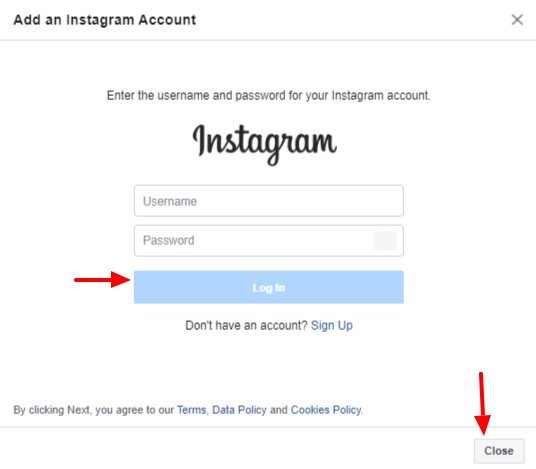
- If you do not have an Instagram account, you can skip this step. From the left menu, choose “Instagram Accounts.” Click “Add,” as shown below.
- Enter your Instagram username and password to log in, then click “Close,” as shown below.
Set up Your Line of Business for Attribution
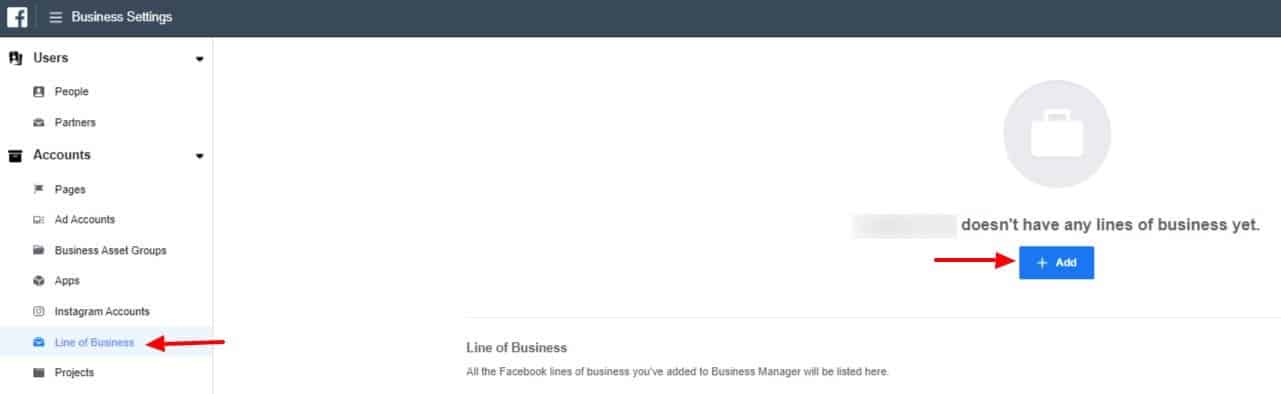
- In the left menu, select “Line of Business.” Click “Add,” as shown below.
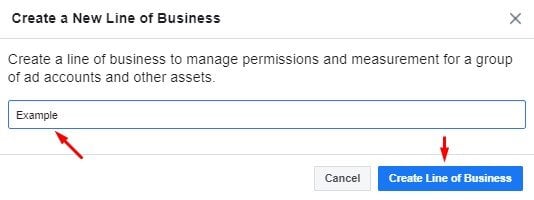
- Enter your business name as your line of business name and click “Create Line of Business.”
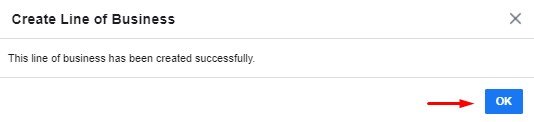
- Click “OK” to confirm.
- At this point, you might not see the new line of business you created. If you don’t, refresh your browser and it should appear. You will want to go through the process of setting up attribution once your Business Manager setup is complete.
Create your Catalog
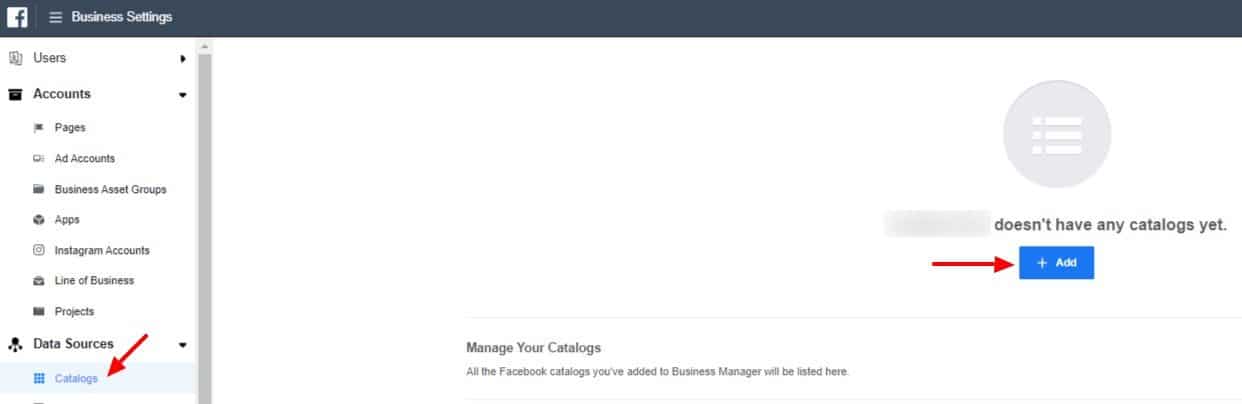
- If you have a business with a catalog of products, click “Data Sources” in the left menu and then click “Catalogs.” Click “Add,” as shown below.
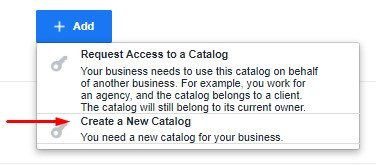
- Click “Create a New Catalog.”
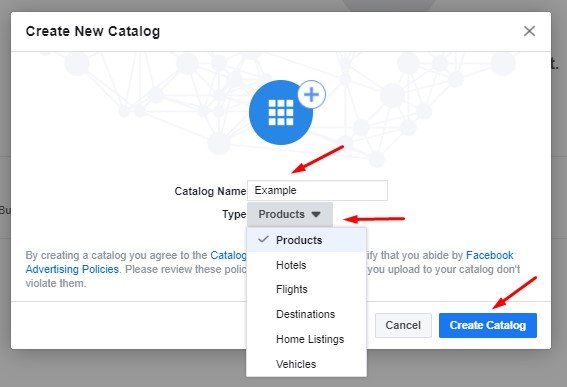
- Enter your business name as the catalog name, select “Products,” and click “Create Catalog,” as shown below.
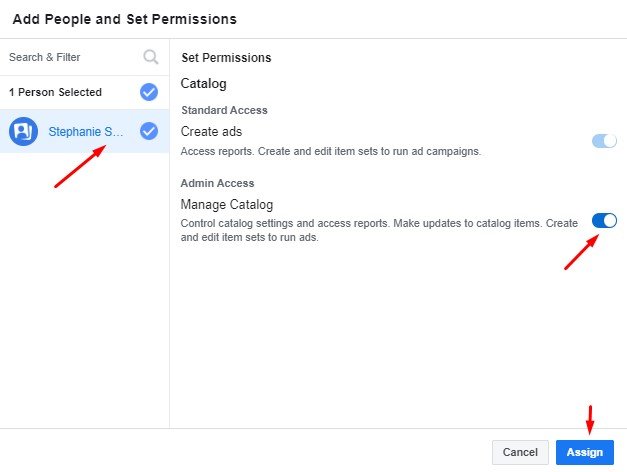
- Assign yourself admin access, as shown below, and click “Assign.”
- Click “OK” to confirm catalog creation, as shown below.
If you have additional assets like apps, offline events, etc., repeat the process to claim these assets.